The camshaft position sensor (CMP) is a crucial component in modern engines. It is responsible for monitoring the position of the camshaft(s) and sends signals to the engine control module (ECM), informing it about the camshaft position so that the engine can run smoothly and efficiently.
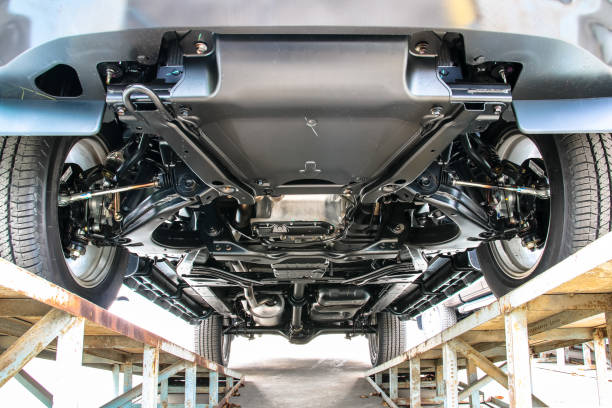
The CMP sensor is usually located on the cylinder head, near the camshaft(s). It works in conjunction with the crankshaft position sensor (CKP), which monitors the position and speed of the crankshaft. By comparing the information from both sensors, the ECM can determine the proper fuel injection timing and ignition timing, ultimately optimizing engine performance.
How Does the Sensor Function in an Engine?
The camshaft position sensor works by sensing the metal portions of the camshaft(s) as they rotate. Most cams have a gear or notch that the sensor “sees” as it spins around. The sensor itself is often a magnetic pickup, which generates an alternating current (AC) signal as it senses the gear/notch.
The signal generated by the sensor is sent to the ECM, which uses it to calculate the exact position of the camshaft(s). This information is essential for adjusting fuel injection, ignition timing, and valve timing, which in turn influences engine performance and efficiency.
Common Symptoms of a Failing Sensor
Like all automotive components, camshaft position sensors can fail over time. Here are some of the most common symptoms of a failing or failed sensor:
- Check Engine Light: One of the first signs of a failing CMP sensor is an illuminated check engine light on the dashboard. This light could come on for various reasons, but a failing CMP sensor is often one of them.
- Engine Misfires: If the CMP sensor is not sending the correct signals to the ECM, misfires or idle issues can occur. The camshaft(s) may be out of sync with the crankshaft, resulting in an erratic running engine.
- Stalling: A faulty CMP sensor can cause the engine to stall or cut out unexpectedly. This is because the ECM relies on accurate signals from the sensor to regulate fuel injection and ignition timing. If the signals are disrupted, the proper engine operation cannot occur.
Diagnosing Issues with a Camshaft Sensor
If you are experiencing any of the symptoms listed above, it’s essential to diagnose whether it’s a camshaft position sensor malfunction. Here are some steps you can take to figure out the root cause:
-
Check Engine Codes: The first step is to connect an OBD (on-board diagnostic) scanner to read the code(s) that led to the check engine light. These codes will point you in the direction of what is malfunctioning and help narrow down the issue.
-
Visual Inspection: Check the wiring and connector of the CMP sensor for any signs of damage or looseness. Also, look for any damage to the sensor itself.
-
Voltage Check: Using a digital voltmeter, check the voltage at the sensor terminals. The voltage should oscillate between 5V and 0V as the camshaft rotates. If there is no voltage or the voltage is steady, the sensor is likely failing.
-
Resistance Test: Use an ohmmeter to check the resistance of the sensor. If the resistance is out of the specified range, the sensor may be defective.
In some cases, the issue may not be with the sensor itself but with the wiring or the ECM. Further testing may be required to confirm this.
Step-by-Step Replacement Guide
If you have determined that the CMP sensor is the culprit, it’s time to replace it. Here’s a step-by-step guide:
-
Locate the Sensor: As mentioned earlier, the CMP sensor is often found on the cylinder head near the camshaft(s). Consult your vehicle’s service manual for exact location.
-
Disconnect Battery: Before removing the sensor, disconnect the vehicle battery to prevent any electrical hazards.
-
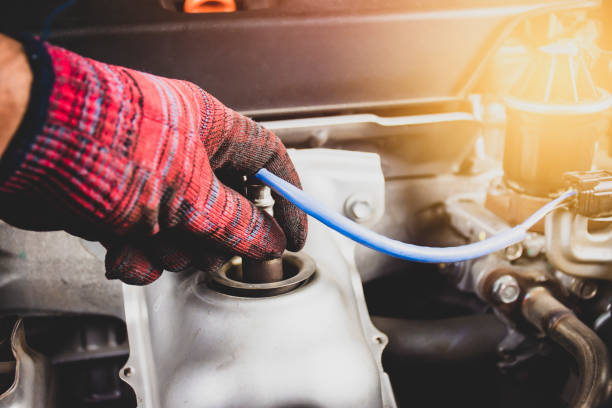
Remove Connector: Carefully disconnect the wiring connector from the sensor. Be cautious not to break the wire terminals or connector retainer clips.
-
Remove the Sensor: Using a socket, remove the bolt holding the sensor in place. Gently pull the sensor out of its mount.
-
Clean the Mounting Area: Clean the mounting area of any dirt or debris. Inspect the area for damage.
-
Install the New Sensor: Insert the new CMP sensor into the mounting hole and tighten the retaining bolt.
-
Reconnect the Wiring: Connect the wiring connector to the new CMP sensor. Ensure that you hear a “click” to indicate the connector is securely attached.
-
Reconnect Battery: Reconnect the battery and start the vehicle to test the new sensor. Verify that the check engine light is off, and the engine is running smoothly.
In many cases, replacing the CMP sensor is a simple DIY job that requires minimal skills and tools. However, if you are unsure of your abilities, it’s recommended to seek a professional mechanic’s assistance.
Tips for Choosing the Right Replacement Sensor
When replacing the CMP sensor, it’s crucial to get the right part for your vehicle. Here are some tips to help you select the right sensor:
-
Check Part Number: Refer to your vehicle’s service manual or consult with a parts specialist to determine the correct part number. Check that part number matches the replacement part before purchasing.
-
Quality Matters: OEM (original equipment manufacturer) parts are made to the manufacturer’s specification and are often the most reliable option. Consider purchasing from reputable brands to ensure high quality.
-
Warranty: Be sure to check the warranty offered with the replacement sensor. Typically, warranties range from 30 days to a year. Opt for a longer warranty to ensure reliability.
-
Cost: The cost of the replacement part can vary widely between dealerships, online retailers, and aftermarket suppliers. Do your research to ensure you get a reasonable price.
-
Compatibility: Ensure that the replacement part is compatible with your vehicle’s make, model, and engine type.
Taking the time to choose the right replacement sensor will ensure that you don’t waste time or resources on replacing it again in the near future.
Importance of Regular Maintenance for Camshaft Sensors
Regular maintenance is the best way to extend the lifespan of your vehicle’s camshaft position sensor. Here are some maintenance tips to keep in mind:
-
Keep Engine Clean: A buildup of engine dirt and debris can cause voltage fluctuations in the sensor, leading to damage over time.
-
Inspect Wiring: Monitor the wiring and connector of the CMP sensor for any looseness or damage.
-
Keep Oil Clean: An engine running with dirty or old oil can cause premature wear of engine components, including the camshaft position sensor. Regular oil changes are essential.
-
Avoid Overloading: Overloading the engine with too much power or weight can cause undue stress on the camshaft position sensor. Drive safely and avoid pushing the engine too hard.
-
Monitor Performance: Pay attention to the performance of your vehicle, including fuel consumption, acceleration, and idle performance. Any irregularities could be a sign of a faulty sensor.
In conclusion, the camshaft position sensor is an essential component in your engine. By understanding how it works, diagnosing issues, replacing it when necessary, and performing regular maintenance, you can ensure the optimal performance and longevity of your vehicle.