Car seats can define the look and feel of your vehicle’s interior. However, over time, they can wear out, look old or get damaged. This is where reupholstering comes into play. But what does it involve and how can you do it yourself? This comprehensive guide will walk you through the process, and before you know it, you’ll be cruising in style with freshly upholstered seats.
Understanding Car Seat Upholstery
The Basics of Car Seat Upholstery
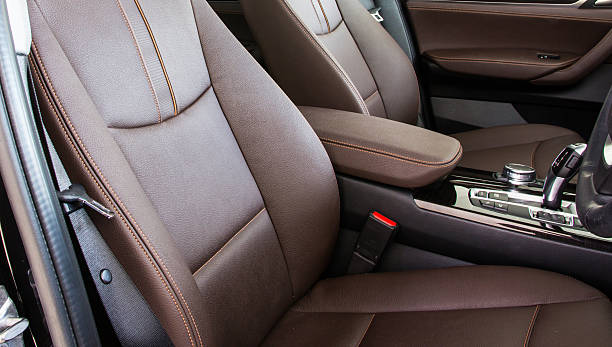
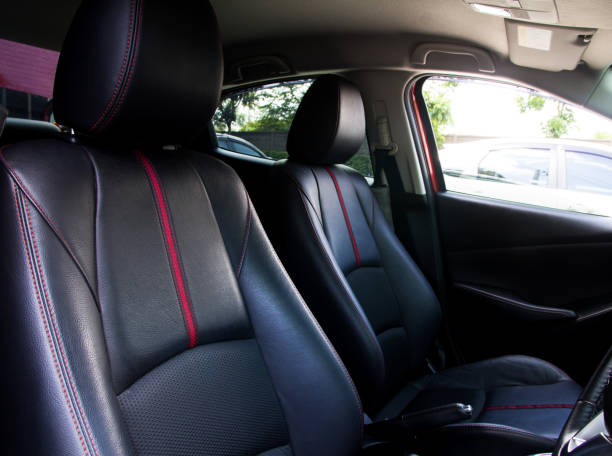
Before we dive into the reupholstering process, it’s essential to understand what car seat upholstery is. The upholstery refers to the materials— including fabric, padding, and springs—that make up the car seats. Several types of materials are commonly used in car seat upholstery, such as leather, vinyl, or fabric, each with its own set of advantages and disadvantages.
Why Reupholster Your Car Seats?
There are several reasons why you might want to reupholster your car seats. Perhaps the current upholstery is worn out, torn, or stained. Or maybe you’re restoring a classic car, and the seats require a refresh to match the car’s overall aesthetic. Reupholstering can also be a great way to customize your car’s interior to match your personal style.
Steps to Reupholster Car Seats
Preparing for the Task
Before you start, gather all the necessary tools and materials. These will include new upholstery fabric, a staple gun, a flathead screwdriver, pliers, scissors, and potentially a sewing machine, among others. It’s also essential to choose a comfortable, well-lit workspace where you can spread out.
Removing the Old Upholstery
To reupholster your car seats, you’ll first need to remove the old upholstery. This involves detaching the seats from the car and carefully removing the fabric. Be mindful not to damage the foam padding underneath, as this can often be reused.
Cutting and Sewing the New Upholstery
Next, you’ll need to cut the new upholstery fabric to fit your car seats. Use the old upholstery as a pattern, leaving extra room for seams. Once the pieces are cut, sew them together, following the design of the original upholstery.
Installing the New Upholstery
Once the new upholstery is sewn, it’s time to attach it to the seats. This is typically done using a staple gun. Be sure to pull the fabric taut for a smooth, professional-looking finish. After the new upholstery is securely fastened, reattach the seats to your car.
Tips for Successful Car Seat Reupholstery
Choose the Right Fabric
Not all fabrics are suitable for car seat upholstery. When selecting a fabric, consider its durability, ease of cleaning, and resistance to sunlight. Leather and vinyl are popular choices due to their longevity and elegant appearance.
Don’t Rush the Process
Reupholstering car seats can be time-consuming, especially if it’s your first time. It’s important not to rush the process. Take your time to ensure precise cuts and seams, which will result in a high-quality finish.
Consider Professional Help
If the idea of reupholstering your car seats feels too daunting, there’s no harm in seeking professional help. Professionals have the experience and tools to ensure the job is done right.
Conclusion
Reupholstering car seats can be a rewarding DIY project that can significantly enhance the appearance and comfort of your vehicle’s interior. By following the steps outlined in this guide and taking your time, you can achieve a professional-looking result that you’ll be proud of. Whether you’re restoring a classic car, updating a worn-out interior, or simply looking to add a personal touch to your vehicle, reupholstering your car seats is a worthwhile investment. With patience and the right tools, you’ll be well on your way to creating a refreshed and stylish interior for your car.