
There are few problems as notorious as the Subaru blown head gasket. As soon as the exhaust starts blowing white, you know what it is, and not a mechanic in the world is surprised.
While it’s a shame that otherwise reliable cars have such a problematic issue, there’s not much you can do to get around it.
But what should you do if you’re currently driving a Subaru? More importantly, how do you know if you need a new gasket and how expensive is it to replace? Keep reading about Subaru head gasket problems, and we’ll break down everything you need to know!
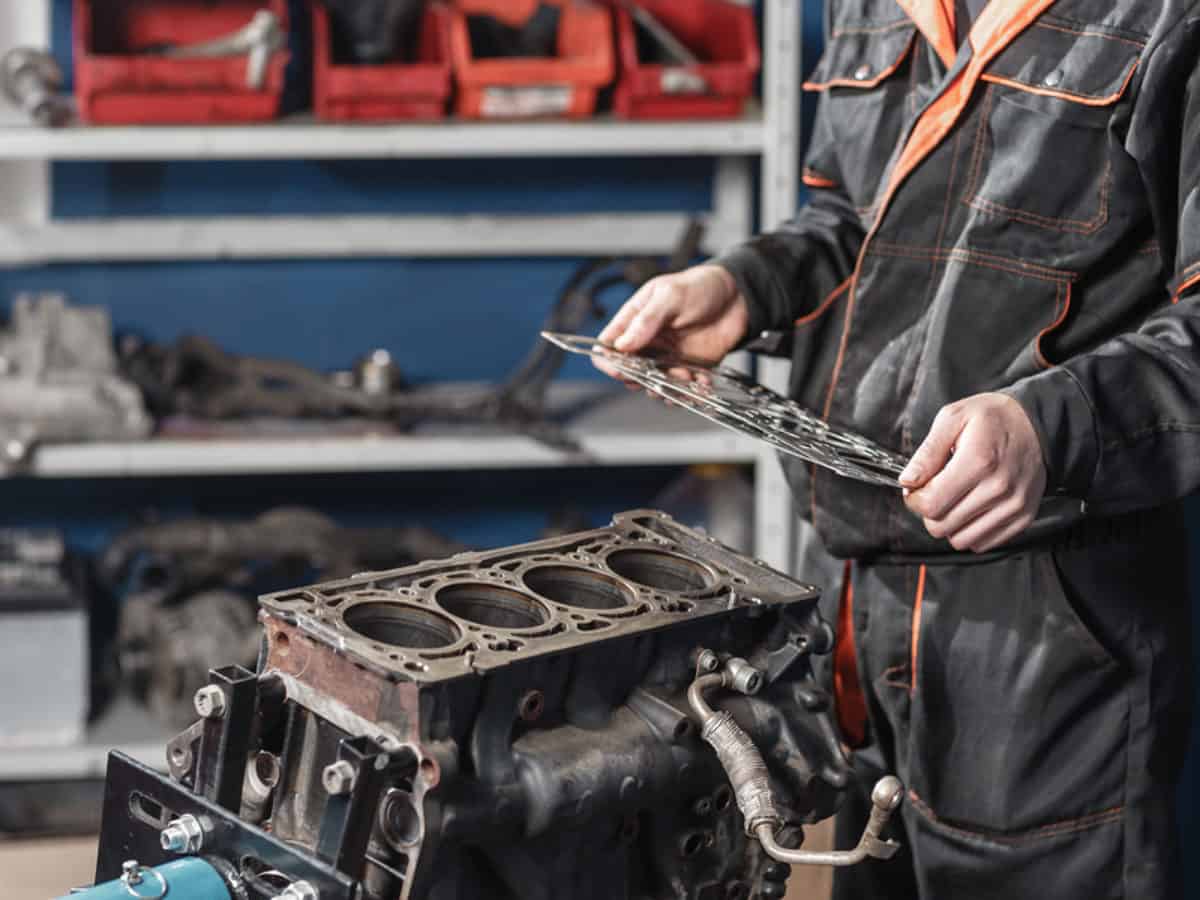
What is a Head Gasket?
Head gaskets are located near the top of your engine and separate your coolant lines, engine block, and oil passages. If you’ve ever seen a head gasket, you’ve likely noticed that they have several large circle cutouts as well as smaller rectangular cutouts.
The large circles are where the pistons and the top of your combustion chamber sits. The rectangular circles are for your coolant passages and oil channels. You’ll also notice small circle cutouts for the head gasket bolts.
Manufacturers usually make head gaskets out of thin sheets of metal with cutouts for each section. Bolts attach the head gaskets to the engine, and sometimes the manufacturer recommends you apply a small amount of silicone RTV to ensure a smooth fitment.
5 Symptoms of Blown Head Gasket
There are quite a few symptoms of a blown head gasket. We’ve highlighted the five most common below.
1. Excessive White Exhaust Smoke
It’s the telltale sign of a blown head gasket. Regular exhaust smoke is clear, and fuel-rich exhaust is black. However, coolant burns white. So, if coolant is getting into the combustion chamber, it will create excessive amounts of white smoke.
It’s important to note some white smoke doesn’t automatically mean you have a blown head gasket. Small amounts of white smoke is typical, and you can reasonably expect to have more of it when the weather gets cold.
2. Unexplained Coolant Loss
Your head gasket’s primary purpose is to keep all the coolant in the engine passages, but when there’s a leak, the coolant ends up going somewhere that it shouldn’t. While you can take the time to track down where the coolant is going, the first sign of a problem is that your coolant level keeps dropping.
If you notice that you are losing coolant, first check for an external leak. If you can’t find one, the most likely culprit is a blown head gasket.
3. Milky/Dark Brown Colored Oil
Sometimes your head gasket blows, and you get coolant in the combustion chamber. Other times coolant works its way into the oil channels. If this happens, your coolant will end up mixing with your oil, which reduces some of the lubricating properties that oil provides. This can quickly destroy your engine.
The easiest way to check if coolant is mixing with your oil is to pull out your dipstick. If the oil is mixing with coolant the two main factors that will affect the color of your oil are the coolant’s color and how fresh the oil is.
As oil gets used, it turns black, but if it is a dark brown instead of black, it’s likely coolant is mixing with your oil. However, if it is a milkier brown color, and you still have coolant, the oil has simply not been used.
Finally, different colored coolant will affect how dark the coolant turns. Red and orange coolants will turn the oil darker than a green coolant will. Any coolant in the oil is a problem, regardless of the color.
4. Engine Overheating
The primary purpose of your coolant is to keep your engine cool. Less coolant means a warmer engine, and if the engine gets too hot, it can overheat. But the problem can be two-fold if the coolant is leaking into the oil.
One of the lesser-known properties of oil in your engine is that it has a cooling effect. Mixing coolant and oil reduces these capabilities, leading to an engine that overheats that much quicker.
Engine overheating might be subtle, but most modern vehicles have sensors that will automatically shut off your engine if it gets too hot. If this happens, it can take anywhere between three to eighteen hours for everything to cool down enough to start the engine again.
5. Bubbling in Radiator or Coolant Reservoir
It’s not the thing you’re most likely to see, but if you have a blown head gasket, it’s likely happening. Head gaskets don’t just keep the coolant where it’s supposed to be, they also keep everything else out.
The most common thing to work its way through the opening is air and exhaust. Once it’s entered the cooling system, it has to leave somewhere, and the easiest way out is at the radiator cap or the coolant overflow hose.
Wherever the coolant is escaping is where you’ll see the bubbles, but you’ll only be able to see it while the engine is running. Do not remove the radiator or coolant cap when the engine is hot. This is extremely dangerous and can lead to severe burns.
History of Subaru Head Gasket Problems

Subaru has a long history of head gasket problems in its vehicles. It’s not limited to a specific make, model, or year, and they fully recognize and admit that many of their previous cars have head gasket problems between 80,000 and 100,000 miles.
If you drive any of the following vehicles, you’re likely to experience a blown head gasket sometere after 80,000 miles:
- 1999 to 2010 Forester
- 1999 to 2011 Impreza
- 2000 to 2009 Outback
- 2000 to 2009 Legacy
- 2003 to 2005 Baja
Of course, it’s not the vehicle that had the problem but the engine. The 1st generation 2.5L engines found in the 1996-1999 Outbacks, Legacy G.T., Forester, and Impreza R.S. typically have internal leaks to the combustion chamber.
This leads to excessive smoke and a slew of other symptoms, as well as significant mechanical problems.
After 1999 Subaru upgraded many of their engines to the 2nd generation 2.2L and 2.5L options. While the new engines did a reasonably good job at preventing fluids from leaking into the combustion chamber, the problem shifted to external leaks.
These engines are notorious for both external oil and coolant leaks. The problem is relatively easy to notice since you’ll typically find leaks puddling under your vehicle when you park it for an extended period of time.
Warranty Repairs
Unfortunately, most Subarus that are notorious for head gasket problems are past their factory warranty. However, if your Subaru still has a factory warranty, or if you purchased an extended warranty, a blown head gasket is almost always covered.
Head gaskets are considered part of the powertrain, and warranties protect it for a more extended period. However, if you have installed any aftermarket parts on your Subaru or you don’t have a detailed record of your scheduled maintenance, they might not honor the warranty.
Why Isn’t There a Recall?
Many owners assume that if there is a chronic issue with a vehicle, the manufacturer must issue a recall. This simply isn’t the case.
Manufacturers only have to recall vehicles if there is a safety or emissions concern. Since a blown head gasket is “only” a major engine component, it doesn’t fall into this category. This makes a recall optional, and Subaru has neglected to issue one.
Did Subaru Fix the Issue?
After 2010 Subaru upgraded the head gaskets used in their 2.2L and 2.5L engines. While they claim that this has fixed the issues, only time will tell as most of these vehicles are only starting to reach 80,000 to 100,000 miles recently.
One thing’s for sure if the head gaskets are still a problem, Subaru is unlikely to offer you any support.
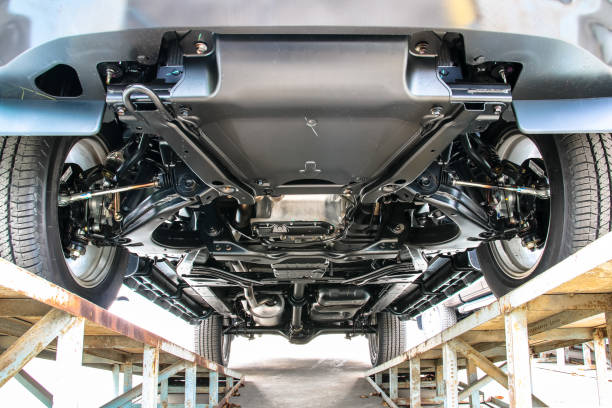
How to Replace Your Head Gasket
If you opt to replace your head gasket yourself, you’ll save a ton of money. But it’s by no means easy. It’s an extremely labor-intensive job, but we’ll walk you through all the steps before you get started. If it seems like too much work, take it to a dealership or a local repair shop to get a quote.
Step-By-Step Replacement Guide
1. Research/Ordering Parts
Before you start any repair job, you need to do your research and get all the parts you need. While this is true for any job, it’s vital for head gaskets. You’ll often need multiple parts not related to the head gasket, and if you don’t get these parts beforehand, you won’t be able to put everything back together.
2. Disconnect the Battery
Before you start any work, make sure to disconnect your battery. You’ll be removing and unplugging electrical components and disconnecting the battery prevents further damage.
3. Drain Coolant and Oil
Start by draining your fluids. If you don’t do this, you’ll end up making a huge mess later on.
4. Gain Access to the Cylinder Head
This is vague advice, but it’s precisely what you need to do. Remove the serpentine belt, alternator, and everything else on the top of your engine.
5. Remove Cylinder Head Bolts
You need to remove the bolts in the sequence set out by the manufacturer. Failure to do so may result in warping or cracking of the cylinder heads.
6. Inspect Cylinder Head/Engine Block
Once you’ve taken everything off, give it a good inspection. Check for pitting, scarring, warping, and other types of damage. Damage is unlikely, but if it’s present, replacing the head gaskets won’t solve your problem.
7. Clean the Engine Heads
You need to thoroughly clean and remove any old RTV or gunk left from the old head gaskets. Make sure you use a non-abrasive cleaner so you don’t damage the block.
8. Install Head Gasket
Once you’ve got everything off, install the new head gasket. Follow the instructions on the package, as sometimes you need to apply a lubricant or silicone RTV.
9. Reattach Cylinder Head
Once you’ve attached the head gasket, reattach the cylinder head.
10. Torque and Tighten Bolts in Sequence
When you’re tightening the bolts, make sure to follow the appropriate torque specs and follow the tightening sequence. You’ll need to make multiple passes to torque the head correctly.
11. Replace All Removed Gaskets
When you’re removing all the different components to get to the head, you likely removed a few gaskets. Make sure to replace them all during reinstallation.
12. Reinstall Removed Components
You need to reinstall the alternator, serpentine belt, and everything else you removed.
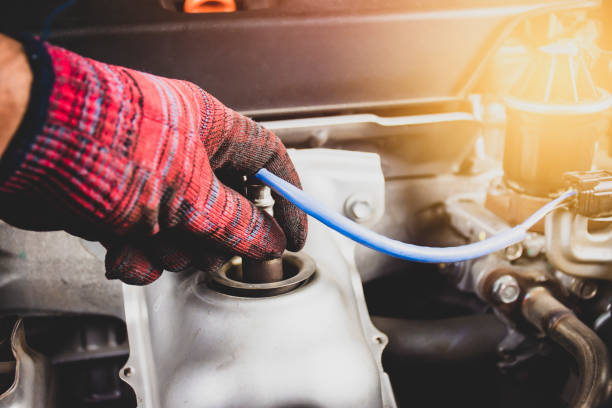
13. Add Fluids
Before starting your engine back up, make sure to add both oil and coolant. You’ll need to get the air out of the coolant system before starting your engine too.
14. Reconnect Battery
Reconnect your battery and get ready to start your engine!
15. Bring Engine to Operating Temperature
Don’t rev the engine or rush the process. Start your engine and let it idle until it reaches operating temperature.
16. Recheck Fluids
Running your engine forces out air bubbles and fills the filters, so you’ll likely need to top off fluids after running the engine.
Head Gasket Replacement Costs

If you need new head gaskets, you’re going to spend quite a bit on the repairs. While the parts themselves aren’t too expensive, there is a ton of labor involved.
Because the mechanic needs to tear into your engine to reach the head gaskets, we recommend a full engine tune if you’re getting your head gaskets replaced. Typically, all you will spend is the extra part costs since the mechanic is already completing most of the labor.
Labor Costs
A head gasket replacement usually takes between eight to ten hours to replace. Because of this, the labor costs associated with head gasket repairs are usually pretty hefty.
A typical repair shop charges anywhere between $100 and $200 for repairs, bringing the labor cost to anywhere between $800 and $2,000.
Make sure you shop around when finding a mechanic, but since a head gasket replacement is such an intricate job, ensure that the mechanic you hire is reliable and of good quality. Otherwise, you might end up with more significant problems in short order.
Cost of Parts Needed
While the labor costs are extremely expensive for a head gasket replacement, the parts’ cost is pretty cheap. For just the head gaskets, you can find the parts for $30 to $50 at AutoZone. However, you should replace all of the gaskets you’re removing during the repair, and these kits cost between $75 and $100.
From there, you’ll need to replace both your oil, coolant, and respective filters. When everything is said and done, you can expect to spend between 250 and 300 bucks.
Should You Use OEM or Aftermarket Head Gaskets?
If your vehicle is under warranty, you often don’t have a choice; you’re stuck with an OEM replacement. But if you’re given an option with a pre-2010 Subaru, you should opt for an aftermarket head gasket.
The OEM head gaskets were part of the problem, and if you opt for an OEM replacement part, you might be right back at square one after another 80,000 to 100,000 miles. The head gasket part is the cheapest part of the repair. Invest in a quality part that will last.
Summary
If you drive a Subaru with a 2.2L or 2.5L engine, you might as well start putting money back for a head gasket replacement now. Even though they claim to have fixed the issue, that theory is just starting to be put to the test.
If past performance is the best indicator of future results, you can expect the new gaskets to start having issues around 80,000 to 100,000 miles.
Either way, replacing your head gasket isn’t cheap, and it’s best to have money set aside if anything does happen to your vehicle.